How To Contribute
Thank you for considering to contribute to the CrystalOpedia! We are always looking for people to add more useful and valuable information to this guide for new and old CrystalCraze players and landowners.
The CrystalOpedia mainly holds information about CrystalCraze, but we also appreciate people who add relevant information about SecondLife in general.
Furthermore you can also contribute pictures or even links to YouTube tutorials you made.
Creating a CrystalOpedia account
- Click on the
Create Accountbutton in the top right corner of the CrystalOpedia.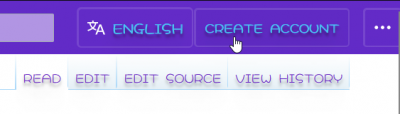
Create Account button

- Fill out the form and click on
Create your account.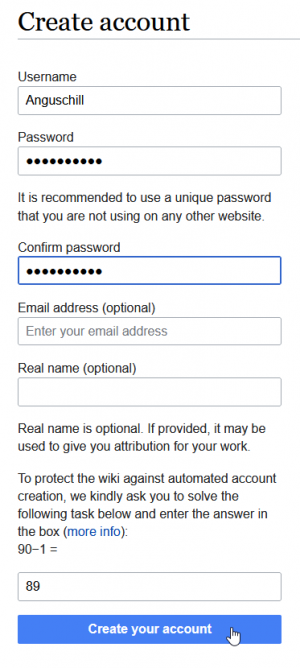
Account creation form.

- Once you have successfully created your account you'll see a welcome message. You can now start contributing to the CrystalOpedia. Make sure you are logged in when contributing, so you'll easily be able to keep track of your contributions and to manage them.
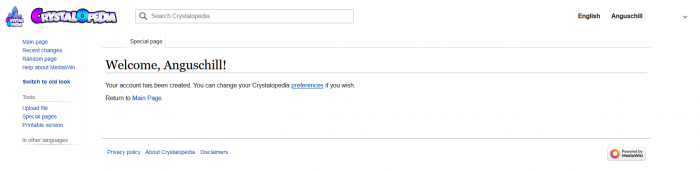
Welcome screen upon account creation.

Contributing to the CrystalOpedia
There are multiple ways how you can start contributing to the CrystalOpedia. Apart from creating totally new pages or adding passages and information to existing ones, you can also translate or review existing pages.
Uploading pictures you made which illustrate existing tutorials and explanations is also easy. If you are a videographer you can provide links to tutorials you made.
Creating a new page
- Navigate to the Main Page.
- Enter the title of the new page in the infobox. Make sure you capitalize each word for uniformity in the wiki.

Info box for creating a new page on the Main Page.

- Click on the
Create Pagebutton.
- The address of the new page is accessed. Click on the
Createbutton in the top right corner of the new page.
Createbutton on a new page.

- You can now write something on the new page, similar to editing a Word or Open Office document. Don't forget to save changes at the end.
Editing an existing page
To edit an existing page you have two options:
- Editing an exiting page using visual editor
- Editing the source code of an existing page
Editing an exiting page using visual editor
- To edit an existing page using the visual editor, click the Edit button in the top right corner of the page.

Editbutton on an existing page. - You can then add text to the page and use the formatting tools at the top.
- Never forget to save your changes when finishing editing a page.

Save changes when finishing editing a page with Visual Editor.


Editing the source code of an existing page
- If you're good with html and css you can also edit the source of an existing page by clicking on
Edit sourcein the top right corner of a page.
Edit sourcebutton on an existing page. - You can then add both text and html or css code snippets to the page.
- Add a quick summary of what you did to make it easier for other users to understand the page history. Then click on Save changes...
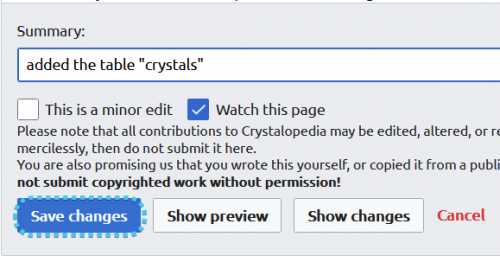
Saving changes to the source of a page.


Translation
Preparing a page for translation
To prepare a page for translation you need to be a member of the Administrators group. Contact anguschill inworld if you want to be added to the Administrators group.
Given you are a member of the group do the following to prepare a page for translation
- Copy the title of the page you want to mark for translation from the page address.

Title of a CrystalOpedia page. - Open the page Special:PagePreparation and enter the title of the page. Press
Prepareto continue.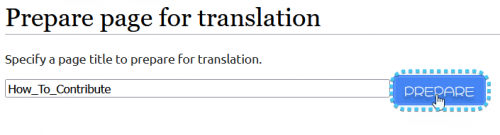
Entering the title of a page to prepare it for translation. - On the next page click on
Publish.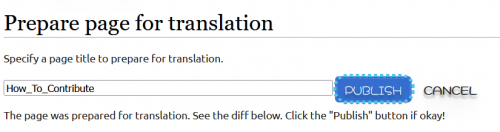
Publishing a page for translation. - Open the page again and click on
Mark this page for translationat the top.
Mark a page for translation. - Scroll to the bottom of the page. Click on
Mark this version for translation.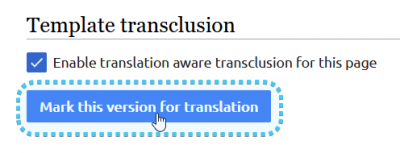
Button to mark a page for translation.

Translating a page
- Click on Translate this page to contribute to the translation of a page.

Translating a page. - Click on the language selector in the top right corner to choose a language (1).
- Select one of the languages supported by the CrystalOpedia (2) and (3).
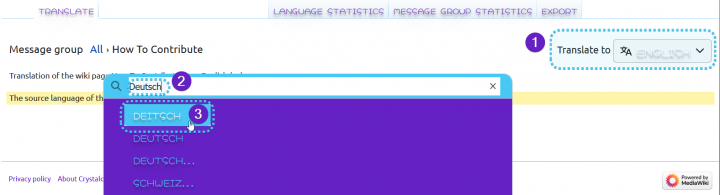
Choosing a language for translation. - A list of different paragraphs to translate will appear. You can click on the empty white space next to each paragraph to add a translation to it.
Paragraphs of a page to translate. - A new window will appear. Add the translated version of the text on top to the Textbox and then click on
Publish translation.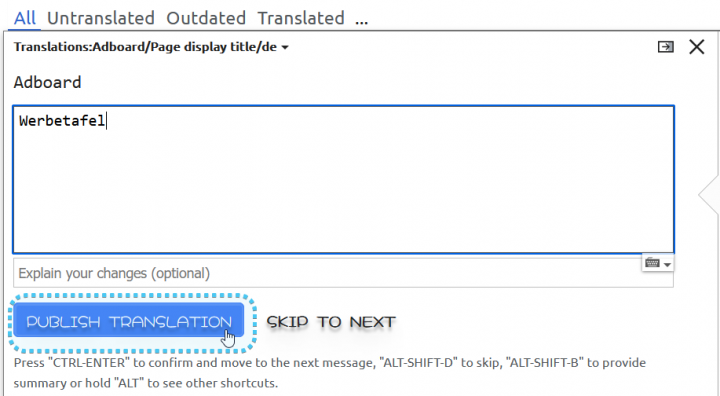
Translating a simple pagaraph. - If you want to translate a complex paragraph containing links, images or templates, click on
Paste source textin the bottom left corner of the text field.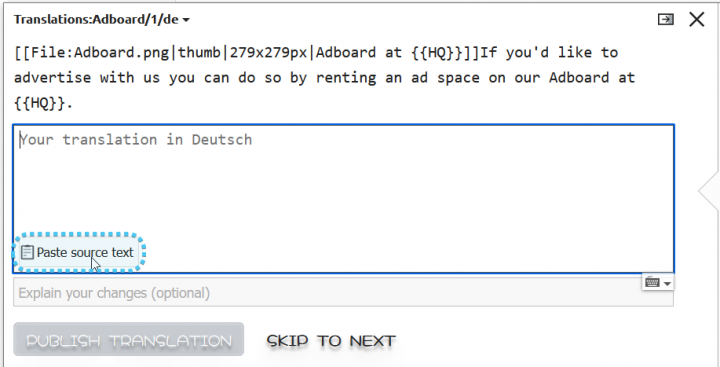
Pasting source text as basis for a translation. - Leave brackets and other punctuation intact and only translate the actual texts of the paragraph. Then click on
Publish translationagain.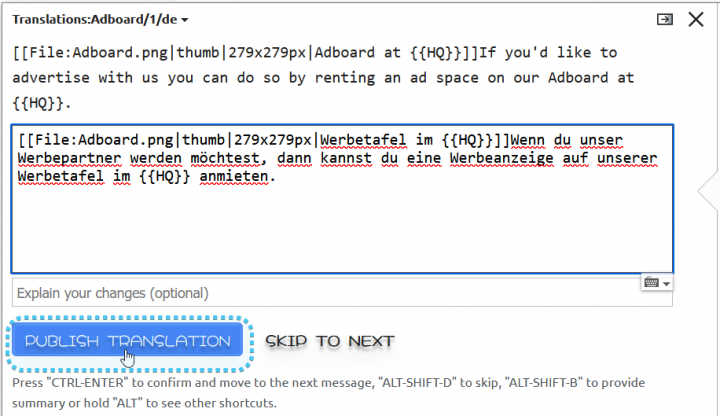
Translating a more complex paragraph. - Once you have published your translation another user will have to review them. After that they will be visible for the general public.
Reviewing translations of other users
- Switch to the translation editor of a page. For example by pressing the
Translatebutton in the top right corner of the page.
Translate button in the top right corner of a translated page. - Click on Review in the bottom right corner of the translation editor. You can then accept or revise each translated paragraph separately.
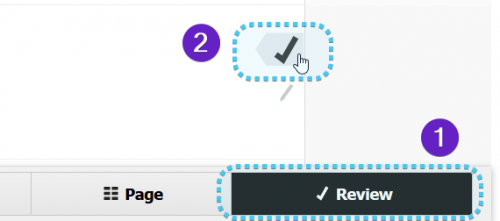
Reviewing translated paragraphs.
Uploading images
- To upload an image start editing an exiting page by clicking on
Editin the top right corner of a page:Editbutton on an existing page.
- Click on
Insertand then onImages and media.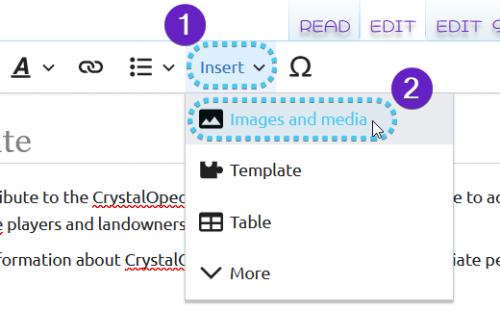
Uploading and inserting an image.

- The media settings dialog opens. Click on
Uploadand then onSelect a file: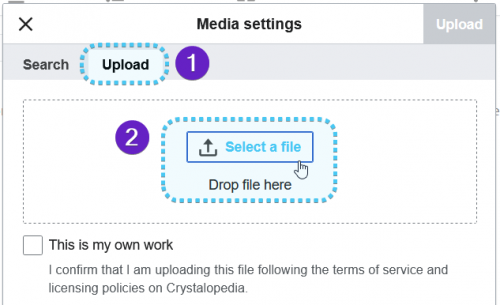
Selecting a file to upload.

- Confirm that the image is your own work and then click on
Upload.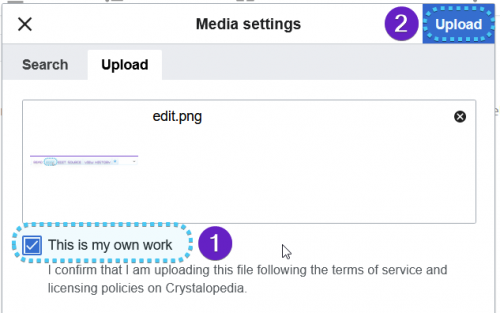
Confirming an image is your own work.

- Make sure you enter a description for the image. Click on
Save.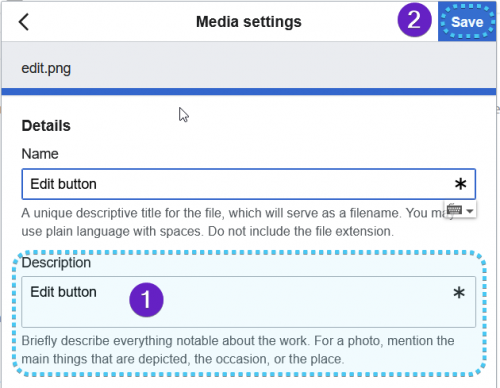
Adding a description to an image. - Click on
Use this image. - The media settings dialog for the image opens. You can specify the way the image should be displayed in different ways:
- General Tab - Caption: Adding a caption for the image
- General Tab - Alternative Text: Deciding which text should be displayed instead of the image if for some reason the person reading the page cannot display images
- Advanced Tab - Position: Deciding if an image should be left/center/right oriented and if text should wrap around it or not.
- Advanced Tab - Image Type: Deciding how the image should be displayed. With CrystalCraze we prefer for you to use the type
Thumbnail. - Advanced Tab - Image Size: Setting the size of an image.
- After deciding on how the image should be displayed you can finally add the image to the page by clicking on
Insert.


Embedding YouTube videos
- To embed a YouTube video first click on
Edit sourcein the top right corner of a page:Edit sourcebutton on an existing page. - Enter the tagline
<youtube>d0UWtMAGr6o</youtube>where you want the Youtube video to appear. Replaced0UWtMAGr6owith the video UUID of the YouTube video you want to embed. You can find video UUID in the address of any YouTube video:
Video UUID in the address of a YouTube video after v=. - You can also embed videos from other video hosting services using the following tags:
Embedding Videos - Tags YouTube <youtube>Google Videos <gvideo>Archive.org video <aovideo>WeGame <wegame>Tangler forum <tangler>Gametrailers <gtrailer>Nicovideo <nicovideo>GoGreenTube <ggtube>
